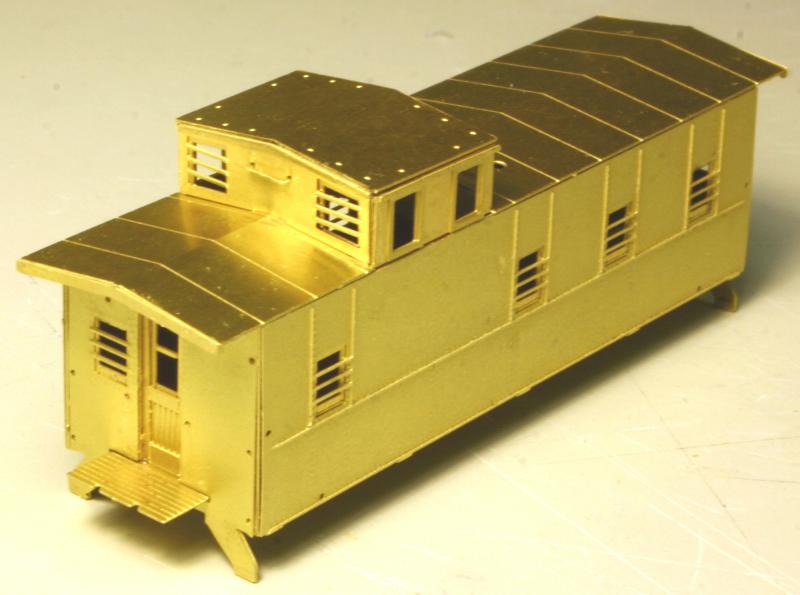
Attaching Cupola and Roof
| How To Series ... Building
A Brass Caboose (Page #3) Attaching Cupola and Roof |
| Now that the basic body shell is assembled, time to build and install the doors. Each door consists of an inner and an outer panel. | 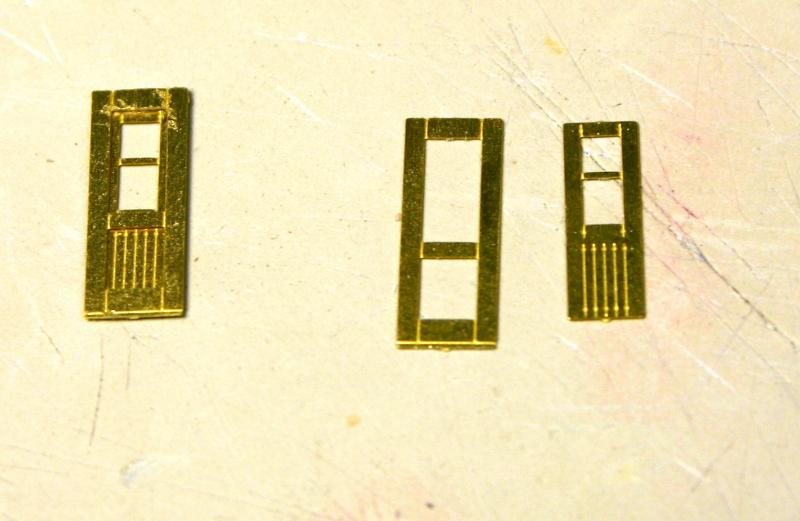 |
|
|
|
| Once the doors a built, install the doors into opening from the inside. If you are going to paint or add details, do it now because the next steps will seal it tight. | 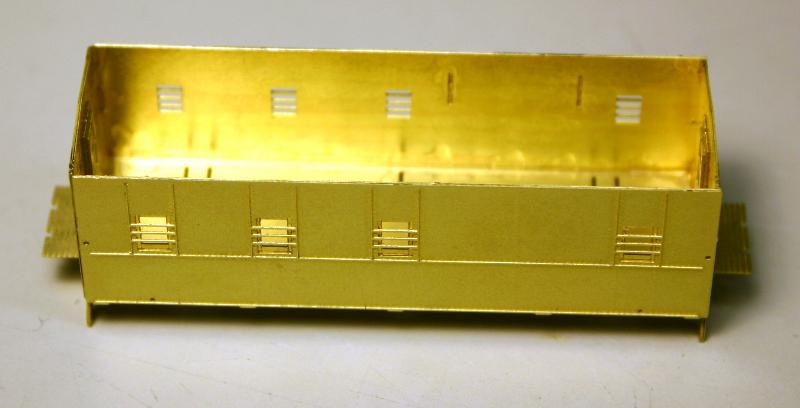 |
|
|
|
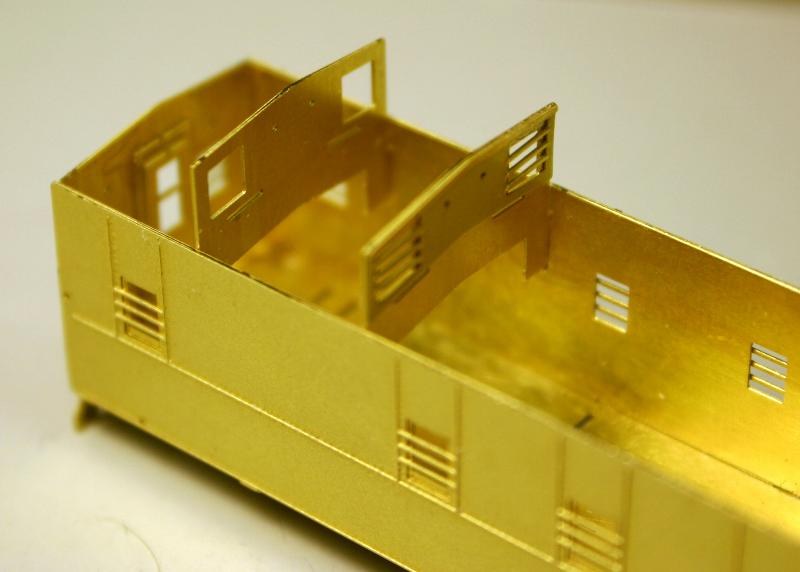
| On the inside of the sides are two slots where the Cupola
End tabs interlock. Put them in loose for now.
Important Note: |
 |
|
|
|
| Secure the Cupola Sides to the Ends. Align the corners and ensure the Cupola Side is flush against the Caboose Side. | 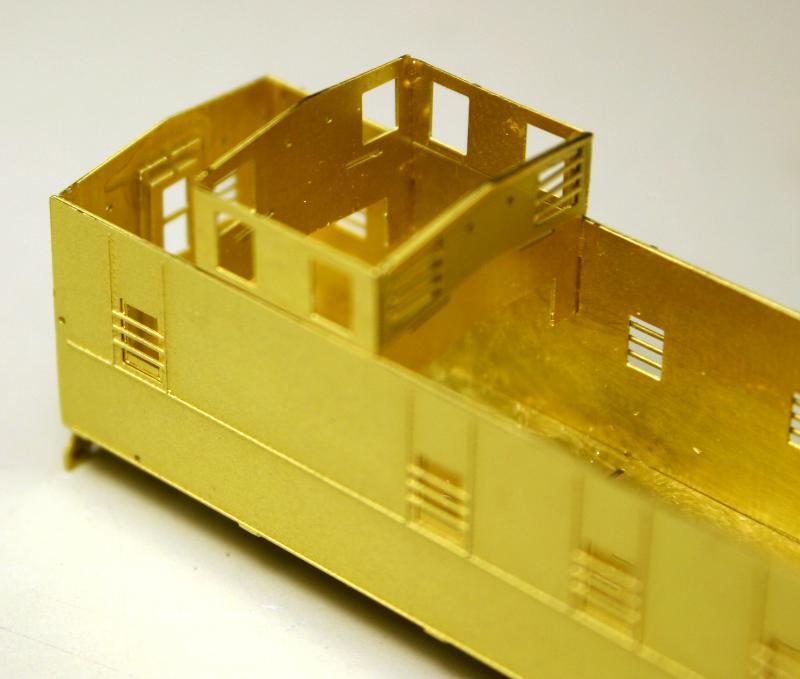 |
|
|
|
| Take the long roof and bend it following the underside bend line. The proper angle can be set using the caboose ends. Secure the Roof End Fascia. OK, one end of the Long Roof has two tabs and the Cupola End has two slots. Put the Roof tabs into the slots, center the Roof on the Caboose and secure. | 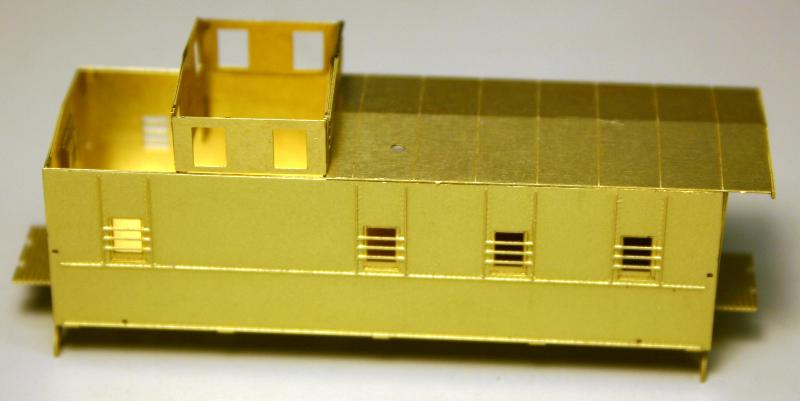 |
|
|
|
| Use the same procedure and secure the Short Roof onto the caboose | 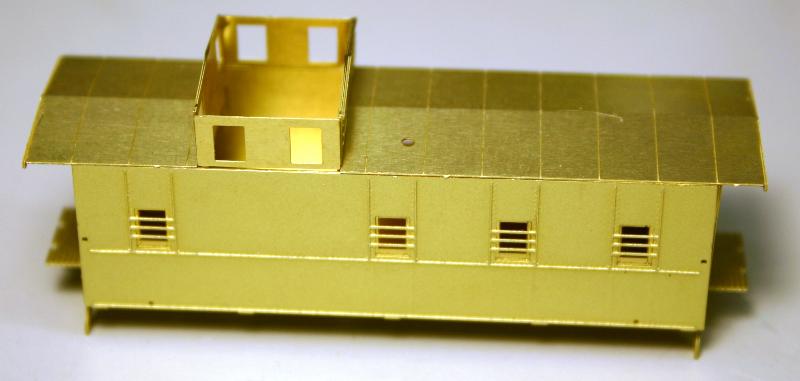 |
|
|
|
| Attach the Cupola End Detail Overlays ensuring the holes for the handrails line up. This view also gives a look at the Roof Fascia and the good view of the caboose end up to this point. | 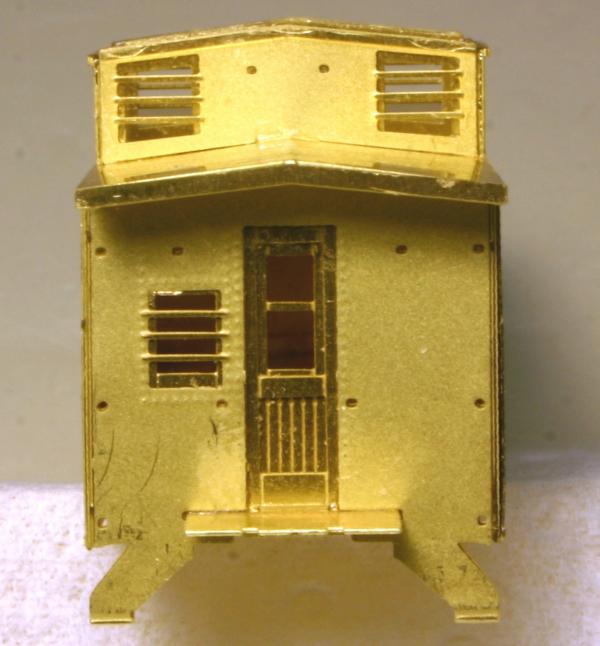 |
|
|
|
| Attach the Cupola Side Detail Overlays ensuring the holes for the windows line up. Ensure the bottom of the Overlay is flush against the Caboose Side. | 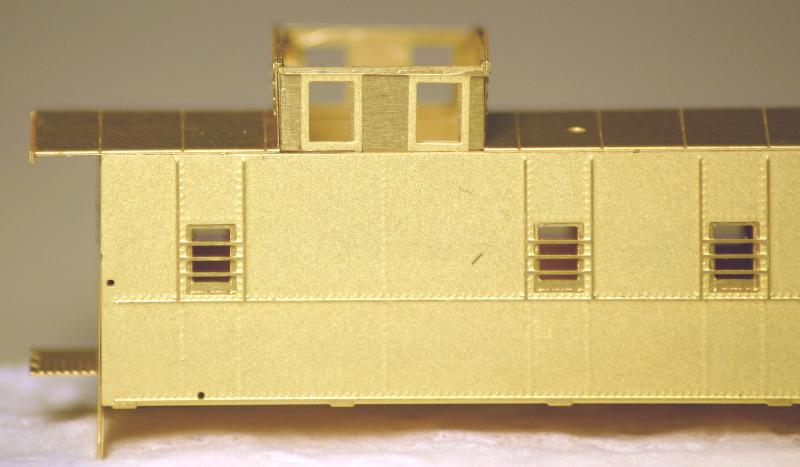 |
|
|
|
| Insert two "wide" handrails into the holes in the
Cupola Ends. Secure from the inside. Bend the Cupola Roof to fit. Center
the roof to the Cupola and secure.
Do NOT add the Roof Railings or Walkway yet. |
 |
|
|
|
| The walkways for the Long Roof and the Short Roof should be removed from the kit and the small attachments bent up under the Walkway. The image shows that attachments on one side have been bent under while the ones on the top half have not been bent yet. Do NOT bend the long attachments yet. | 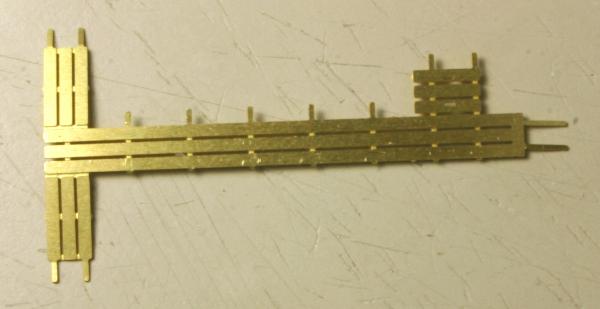 |
|
|
|
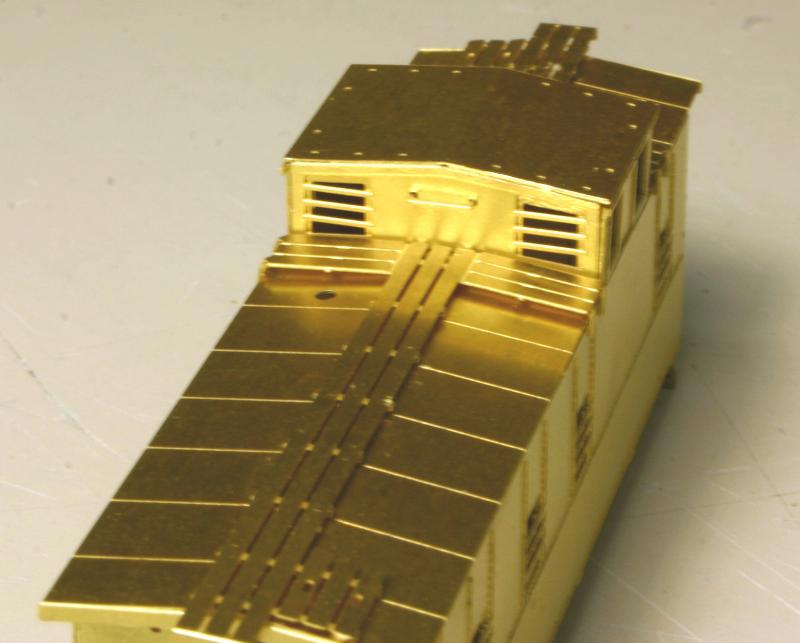
| Study the following images to see how the Walkways are
secured. The small attachments that were bent under the Walkway now rest
on the Roof to compensate for the sloping Roof angle. Secure the Walkway
to the Roof at the small attachments. Carefully bend the Walkways adjacent
to the Cupola to match the Roof slope. Use the long attachments to secure
these walkways to the Caboose side.
The overhang at the Caboose end actually has two bends. First is the Walkway End which is bent 90 degrees down to the Walkway. The long attachments on the Walkway End are then bent to the Roof Fascia and secured. |
 |
|
|
|
| Repeat the process for the Short Walkway on the Short Roof. | 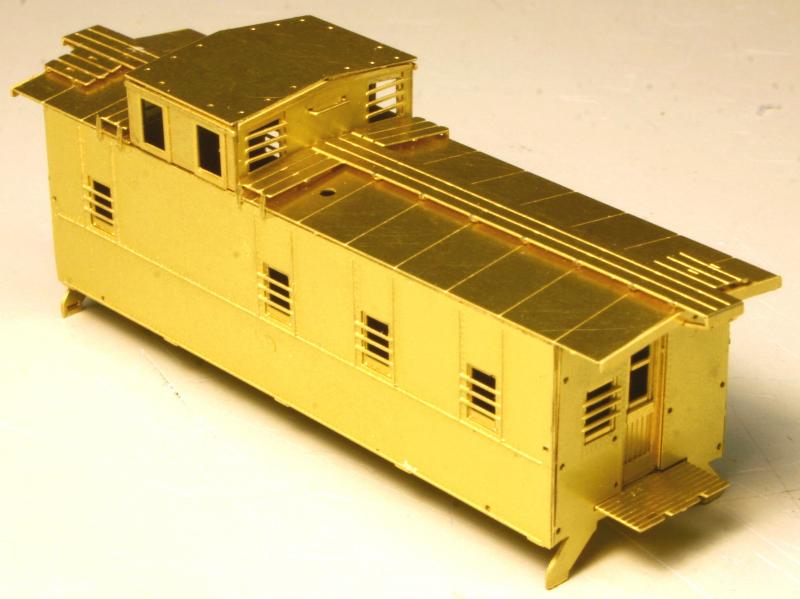 |
|
|
|
Note: This document is preliminary. Items contained
within may change without notice. | |